Wall
 When you select the Wall command you can quickly draw a wall.
The input dialog allows you to enter the parameters for the wall.
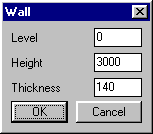
The wall will always be drawn perpendicular to the active work plane. If you specify a value for elevation, then the base of the wall will be positioned at that height from the work plane.
Elevation Wall base = 2000.
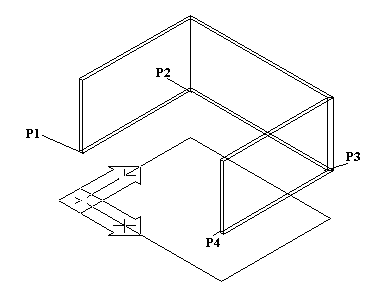
The first part of the wall is only displayed after you have selected the third point. The last part is displayed when you close the command.
Command: Specify start point: P1 |
Command: Specify next point: P2 |
Command: Specify next point: P3 |
Command: Specify next point: P4 |
Command: Specify next point: Enter |
Floor
 After selecting the command Floor, the following dialog appears:
In this dialog we enter the elevation and thickness of the floor.
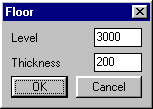
The elevation is the underside of the floor.
When you select points with Osnap (e.g. Endpoint) then the floor will be positioned at the elevation of the points selected.
The sequence in which you select is equally important:

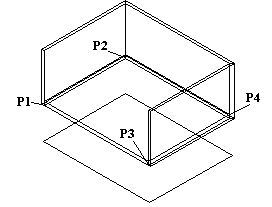
Result
Command: Specify first point: _endp or P1 |
Command: Specify second point: _endp or P2 |
Command: Specify third point: _endp or P3 |
Command: Specify Fourth point: _endp or P4 |
Command: Specify third point: Enter |
Door
 To insert a door you have to enter the parameters in the door-dialog box.
The height and width of the door, whether it is a single or double door, the positioning of the hinges on the wall and the direction of the placement all need to be specified.
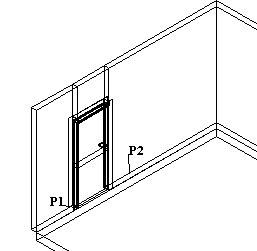
Command: Select the wall to place the door, at the point where you want the hinge: to P1 |
Command: in which direction: P2 |
Window
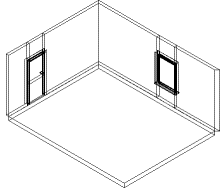
 Placing a window is almost identical to placing a door.
The parameters for inserting a window are the height of the ledge, height and width of the windowpane and the number of horizontal and vertical divisions.
To insert the window you select a point that indicates the beginning of the window. For the second point you give the direction into which the window will be placed.
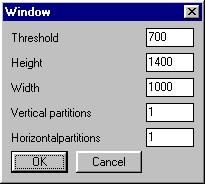
Command: Position the central point of the column: or P1 |
Command: in wich direction: <Ortho-on> P2 |
Column
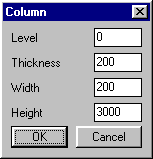
 If you want to draw a column, click the corresponding command-button and set the parameters in the dialog box.
When you specify the elevation then the column starts at that distance from the work plane. A negative value positions the column below the work plane.
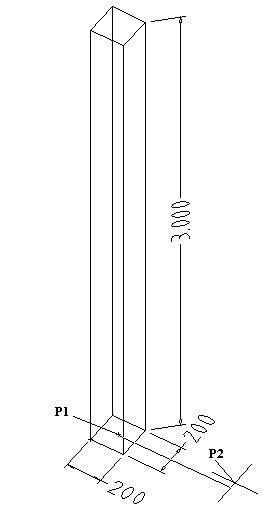
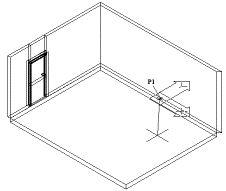
Command: Position the central point of the column: P1 |
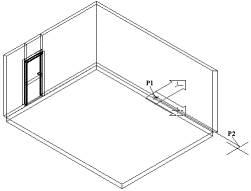
Command: and the insertion angle: <Ortho-on> P2 |